It's not always obvious how to configure the WiFi on the Arduino Yùn properly, since most of the good settings are hidden away in the "advanced" interface. So I'll do what I can to expose them to you.
First off, when messing with the WiFi, you really want to be connected to the Yùn using an Ethernet cable (you most probably had one provided with your WiFi router when you got it - it's buried at the bottom of a drawer somewhere).
It's pretty straight forward to connect your Yùn to your existing WiFi network, but what if you want the Yùn itself to provide a WiFi network? Well, out of the box it already does that (to allow you to connect to it to configure it), but it's unencrypted (completely open) and you really don't want that. Also you want to give it a nicer name than "Arduino Yun-B16B00B13S" or whatever yours happens to be called.
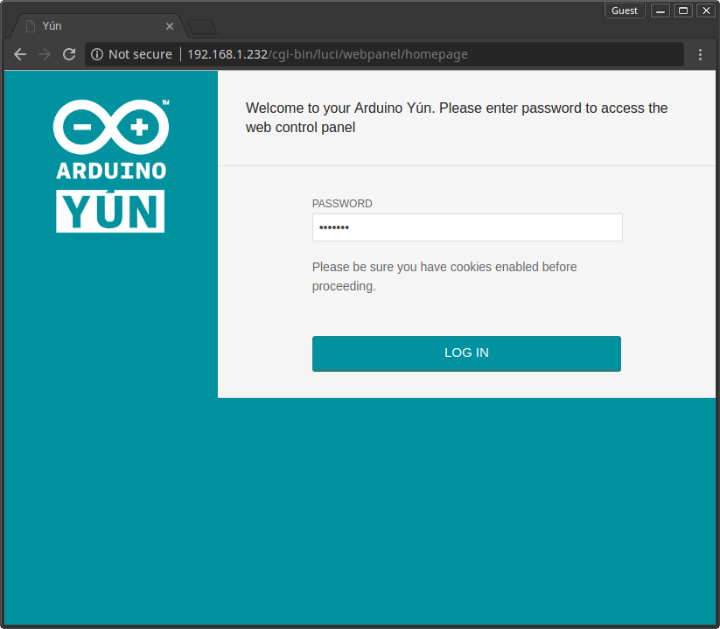
So first off you want to just log in to your Yùn through the web interface. Be sure to use the IP address it's been allocated for the Ethernet connection. If you don't know that, then connect to the Yùn's WiFi first, log in, then make a note of the IP address for the "WIRED ETHERNET (ETH1)" connection. Connect back to your home WiFi, enter that IP in your browser and log in again.
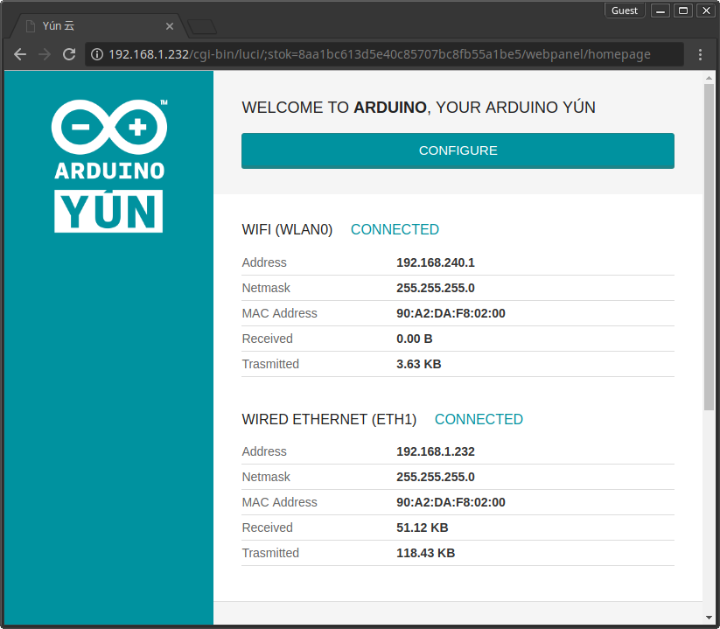
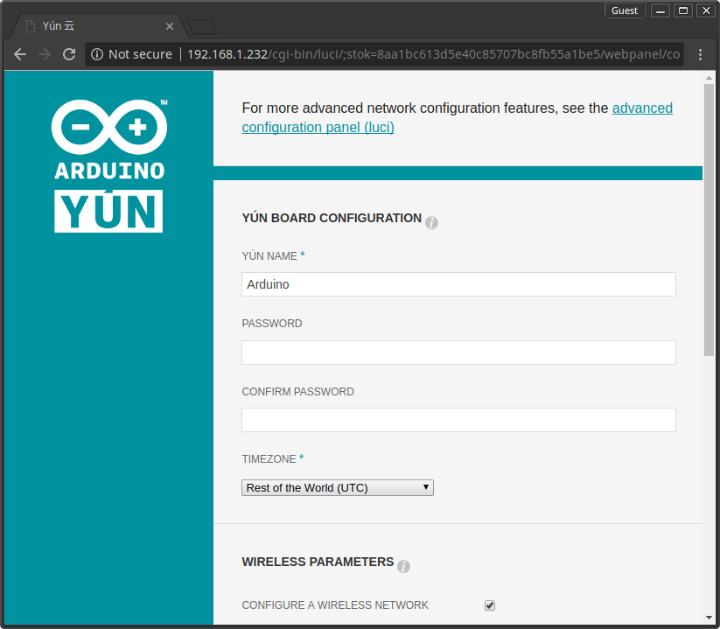
Now you can hit the big "Configure" button, which gives you the basic configuration interface. You can set your password and the name of the Yùn here if you like (if you haven't already done that). What we're interested in though is the link at the top that says "For more advanced network configuration features, see the advanced configuration panel (luci)". Go ahead and click that, and you'll get all the options you could ever want.
Now things start to get a little more complex. You're presented with a fancy control panel with a number of tabs and sub-tabs. This interface is called "LUCI", which stands for the "Lua Unified Configuration Interface", since it's a set of Lua programs that operate on the Unified Configuration Interface that OpenWRT uses to configure everything.
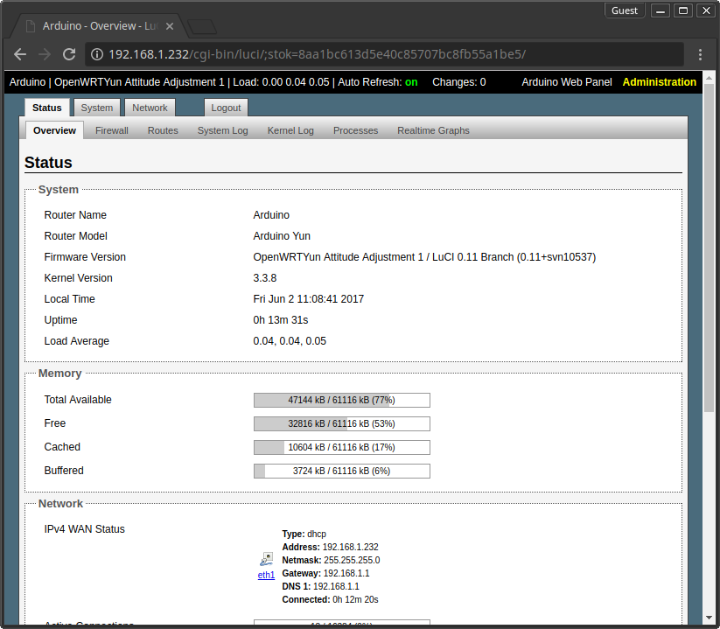
For setting up the WiFi Access Point it's the "Network" tab we're interested in. So go ahead and click that. You can see that there are two "Interfaces" configured. This is where it gets a little confusing, since in OpenWRT an "Interface" doesn't mean a physical network interface, instead it refers to a logical function - more of a network "zone" than anything else.
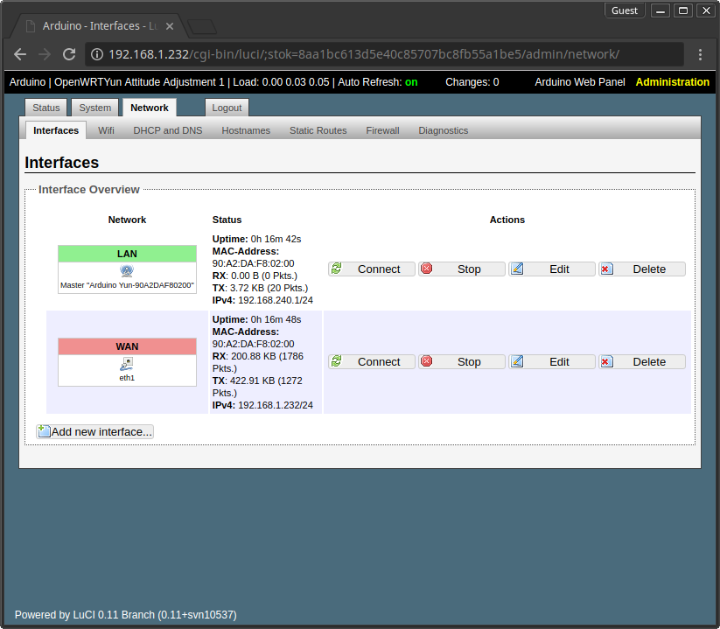
The two interfaces are named LAN and WAN. By default the open WiFi Access Point is assigned to the LAN interface, and the Ethernet port is assigned to the WAN interface. We'll come back to manipulating these interfaces a little later - there's some interesting settings you may want to know about in there. However, for now we just want to configure the WiFi, and that can be done with (surprise surprise) the WiFi sub-tab. Click that now, and you'll see the existing WiFi Access Point configuration:
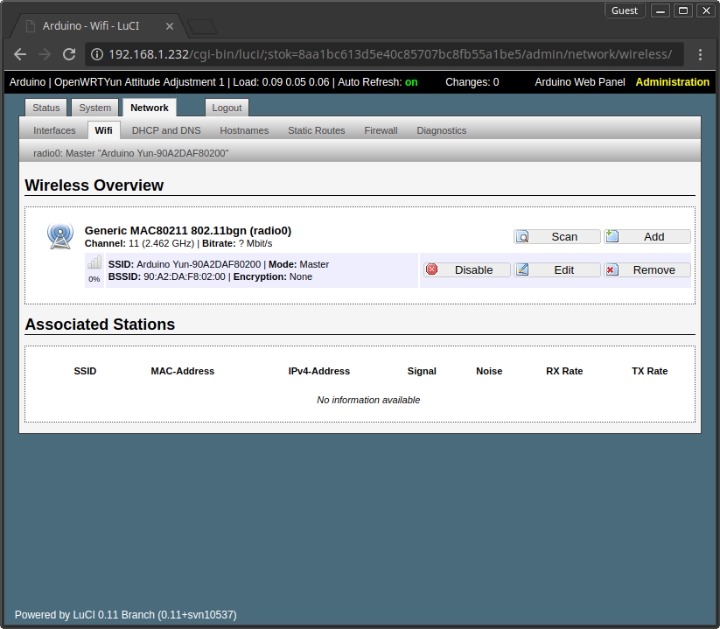
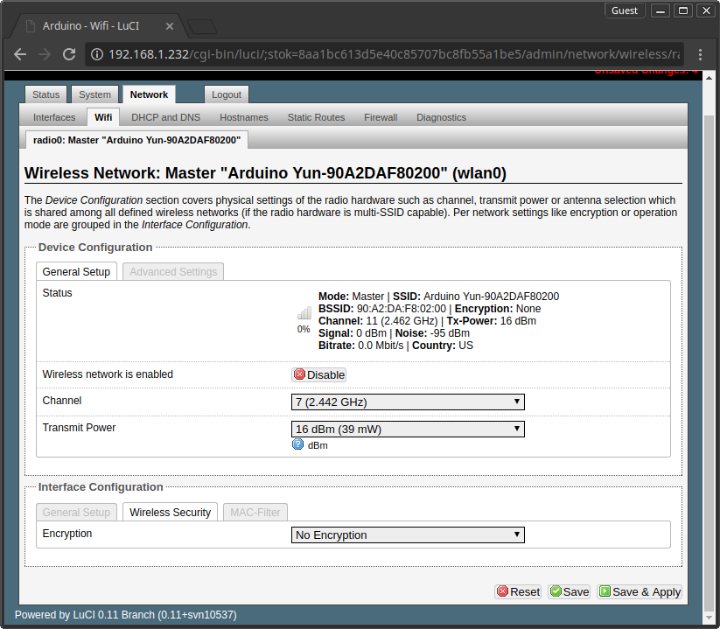
There's not much to see here - we just want to go in and edit the settings. You can do that by hitting "Edit" in the "radio0" section. That gives you more settings for the WiFi than you could ever want:
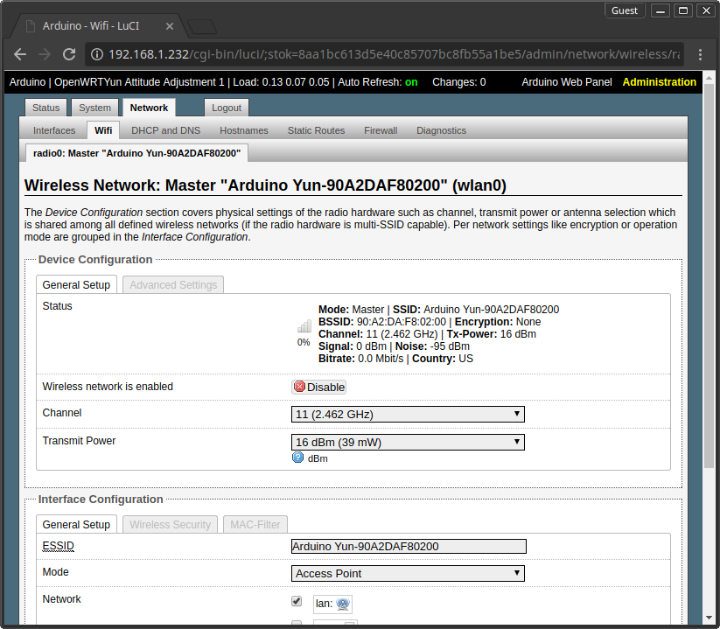
Now is when you get to properly name your WiFi Access Point. Give it an interesting name in the ESSID box, and (if you like) select a good clear channel to operate on (I use an App on my Android phone called "WiFi Scanner" to help me identify which channels are least congested). Scroll down the page, and click "Save". Do not click "Save & Apply" yet, because we haven't finished.
You'll see at the top now it says something like "Unsaved Changes: 4" in red. It's not well worded that - the changes are saved, they just haven't been applied.
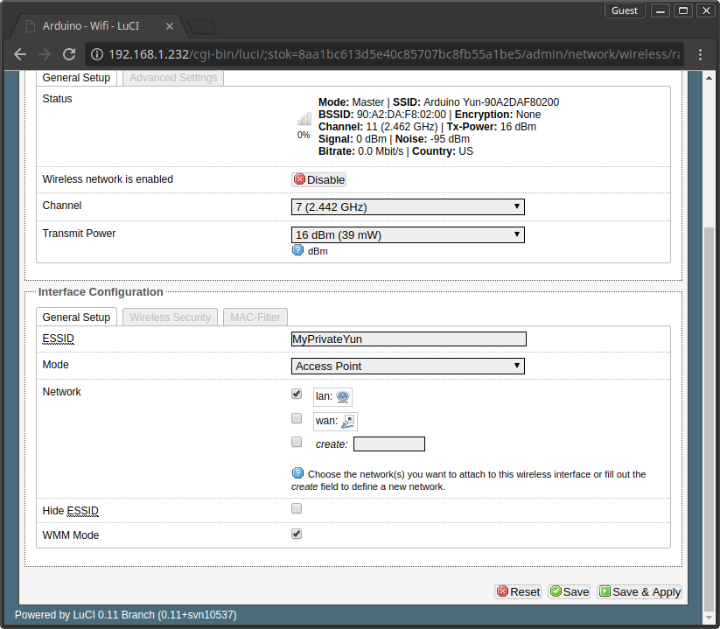
So now we can configure the WiFi password. Click the "Wireless Security" tab towards the bottom of the page (at the top of the section where you set the name just now). You'll see it's set to "No Encryption".
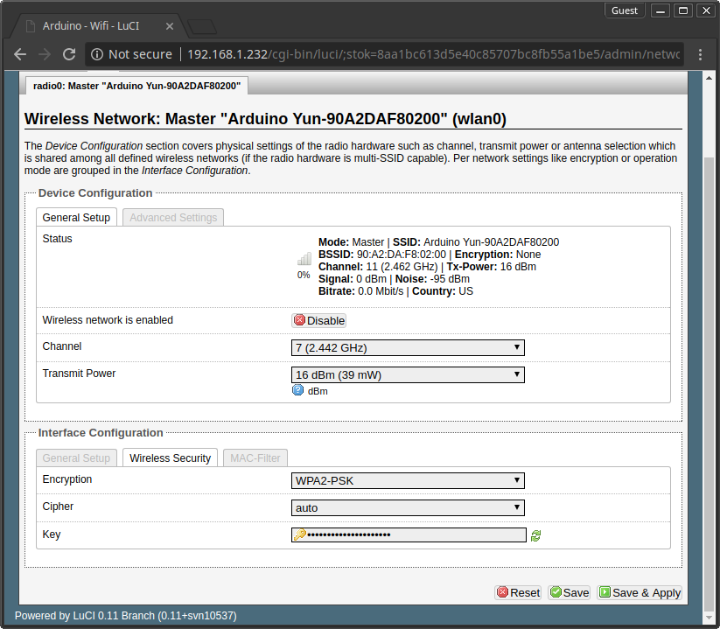
Simply select the encryption you want (WPA2-PSK), and the form changes to allow you to enter a key. Ignore t he "Cipher" box (leave it on "auto") and type your super secret password into the Key box.
Now we're about ready to go. This time you can click "Save & Apply". It takes a few moments for the changes to be applied (there's a spinny thing runs while it configures everything). Once that is finished your Yùn should be secure. If you'd been attached to the WiFi you would now be disconnected and have to re-connect to the new WiFi Access Point and enter the password. That's why we want to be on the Ethernet not the WiFi, so we don't lose access while we're still working on things.
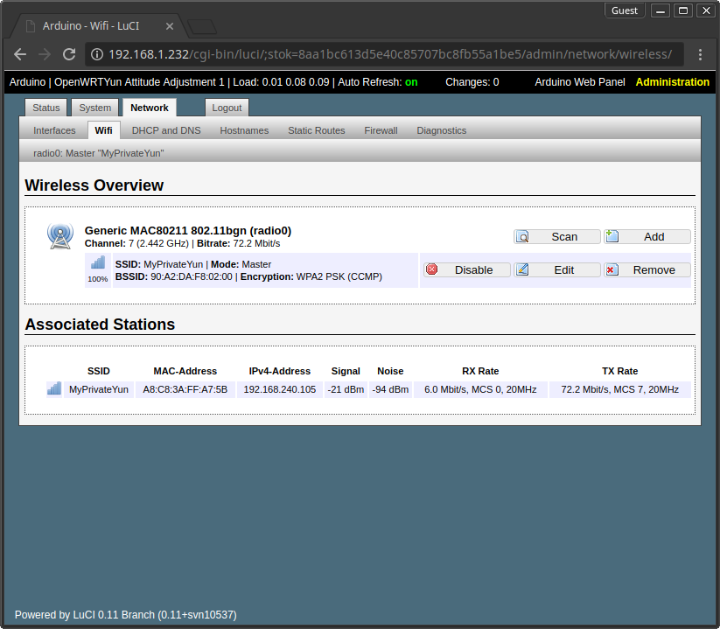
You should now be able to connect to the WiFi with your chosen device and access the web interface from there. If you click back on the "WiFi" tab you should see the new settings and any devices attached:
By default anything connected to the WiFi can talk to the Yùn, as can anything connected to the Ethernet. However nothing connected to the WiFi can talk to anything on the Ethernet, nor the other way around. If you want WiFi devices to talk to Ethernet devices you will have to "open up" the network a little.
Depending on the network you have you may just be able to turn on "forwarding" of packets. Your network will have to understand that the Yùn can forward packets to the WiFi network (which will be on a different IP address range), but how to configure your network to do that is beyond the scope of this post. Suffice it to say you may need to make some changes to the settings on your internet router to forward a subnet through the IP address of the Yùn. Configuring the Yùn, though, is as simple as selecting the "Firewall" tab and setting both the LAN and WAN interfaces to "accept" "Forward" packets. By default it's set to reject them:
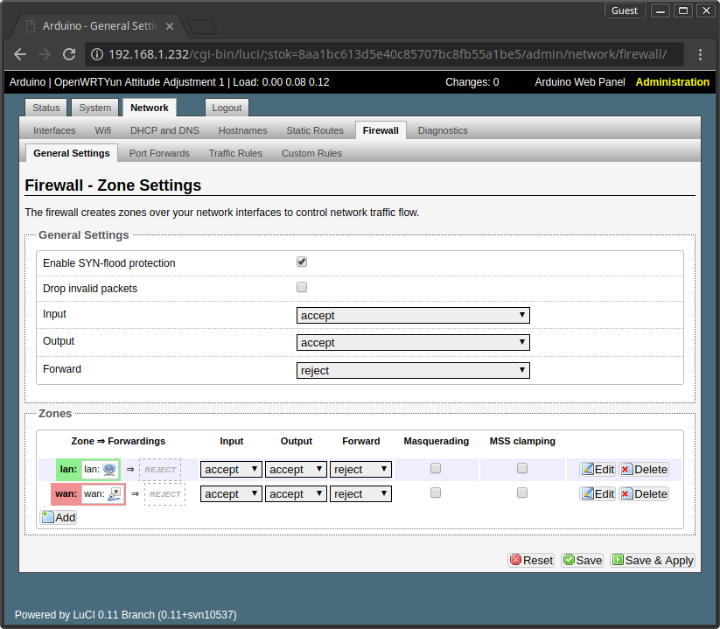
Change both "reject" entries under the "Forward" column to "accept" and "Save & Apply". The Yùn is now capable of forwarding packets between the two networks. One more convenient method of connecting the two networks together, though, is to use "bridging". This connects both the interfaces together into one single network. However you must take care with doing this. Do it wrong and you can either cripple your access to the Yùn or cripple your home network. The risk to your home network is based around the DHCP server which hands out IP addresses on your network. You can have only one of them on a network, or things get rather confused. Your main router will be a DHCP server, and the Yùn is also a DHCP server. By default the WiFi access point is handing out IP addresses, but the Ethernet port isn't. Bridge the two together and you risk ending up with the Ethernet also handing out IP addresses.
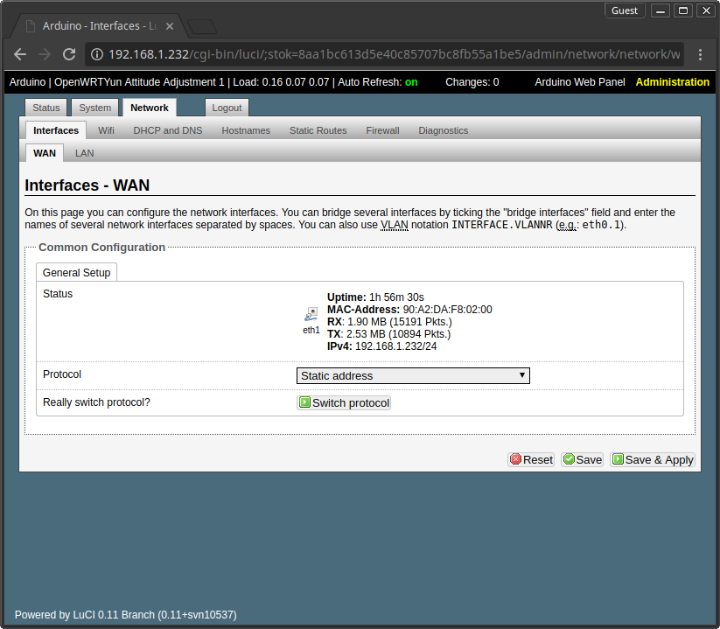
So first we need to reconfigure the Yùn so that there is no DHCP on any interface. This will, for the moment, cripple the WiFi Access Point since it won't be able to hand out any IP addresses any more. So if we now go to the Interfaces tab that we looked at briefly above, and go to "Edit" the "WAN" interface we can see that it is set to get its IP address through DHCP. Now I'd recommend switching that to a static IP address - one where you will always be able to find it on your network. Most home routers start handing out IP addresses at the bottom of the range, so if you pick one near the top of the range it shouldn't ever collide with a DHCP provided one. Note: this step is not essential - it's mainly for convenience for the future.
So change "DHCP Client" to "Static address", and you'll notice the display changes to give you a "Switch protocol" button. Press that, and you'll get a new form to fill in.
Now you need to be careful here. If you set the wrong IP address range you may have some difficulty in getting back to your Yùn. You can see your current IP address in the box towards the top.
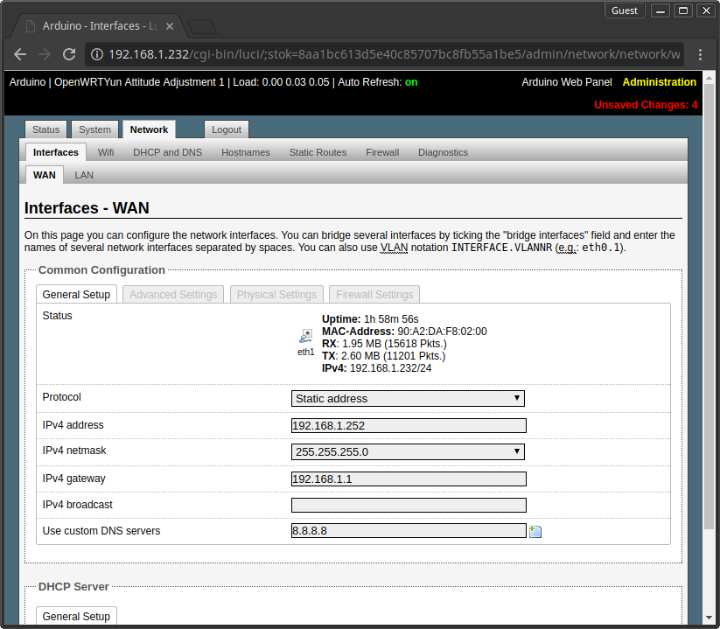
Scroll down, and make sure that "Disable DHCP for this interface" is turned on. This will ensure that you don't break your home network.
If you click "Save & Apply" now you will lose access to your Yùn until you enter the new IP address into your browser. So do that now and cross your fingers. You should see it sitting on "Waiting for changes to be applied...":
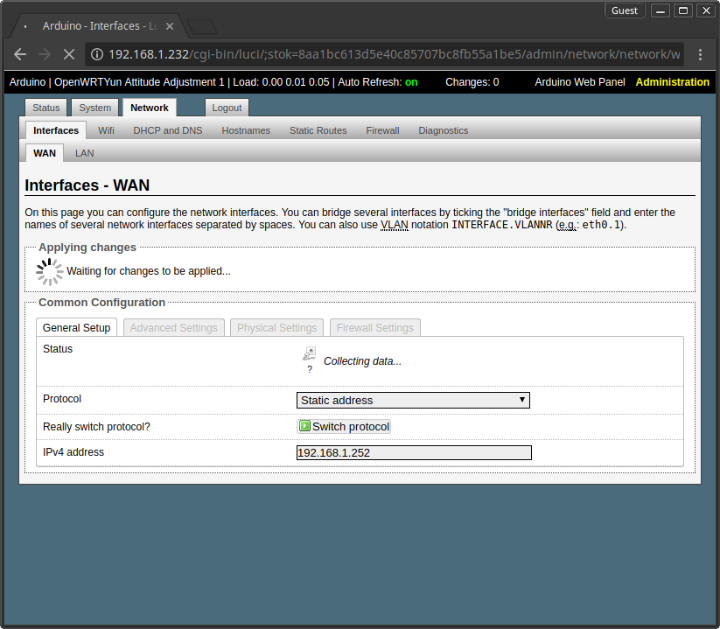
Give it a few moments to make sure the changes have really applied, then enter the new IP in the address bar of your browser. You should then be back to the initial "LOG IN" page. Go ahead and log in again. Again step through "CONFIGURE" and then use the link at the top to get back to LUCI.
Now the fun begins. Bridging the interfaces.
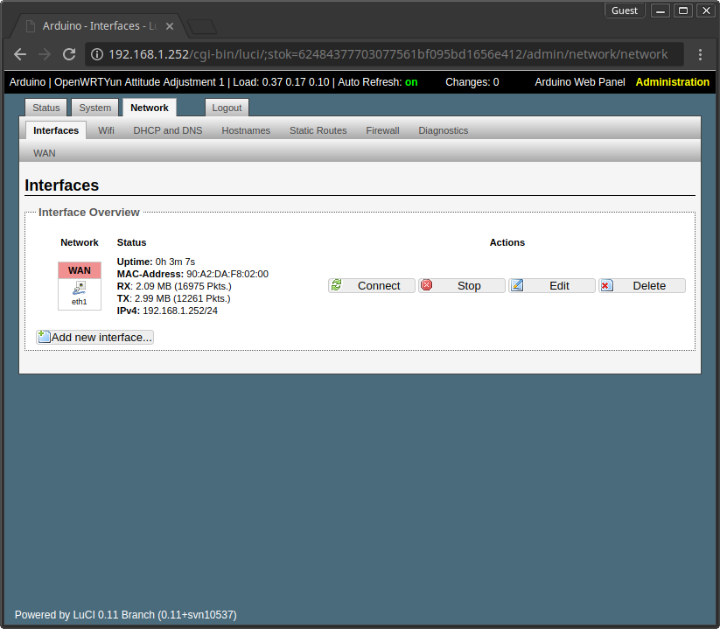
The next step is to remove the LAN interface. We don't need it any more. Select the Network tab and click "Delete" on the LAN interface. It will ask you if you are sure - say yes. That will leave you with just the WAN interface.
Now we go to edit the interface again, and this time select the "Physical Settings" sub-tab.
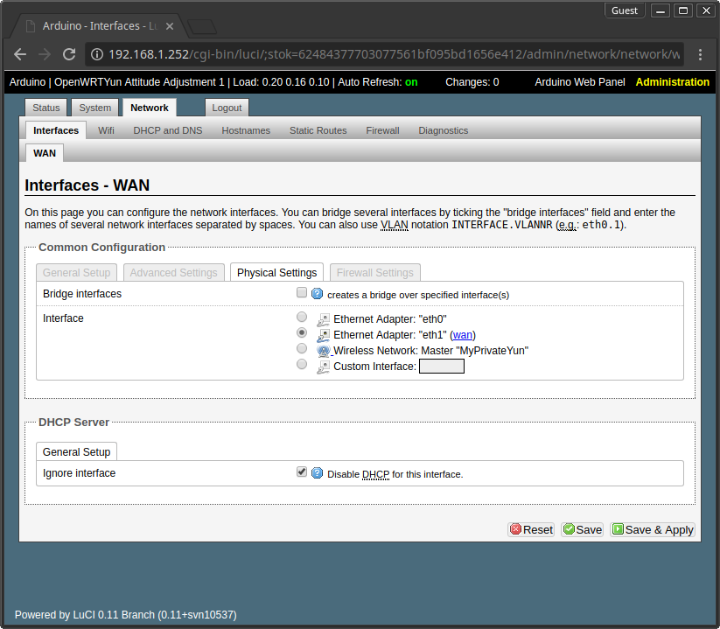
You can see the WAN interface is linked to the "eth1" interface. We also want it to be connected to the Wireless Network: Master "..." interface. To be able to do that we need to turn on the "creates a bridge over the specified interface(s)" checkbox, which then turns the radio buttons in the list into checkboxes, so you can select more than one. Do that, then select the Wireless Network entry in addition to the "eth1" entry:
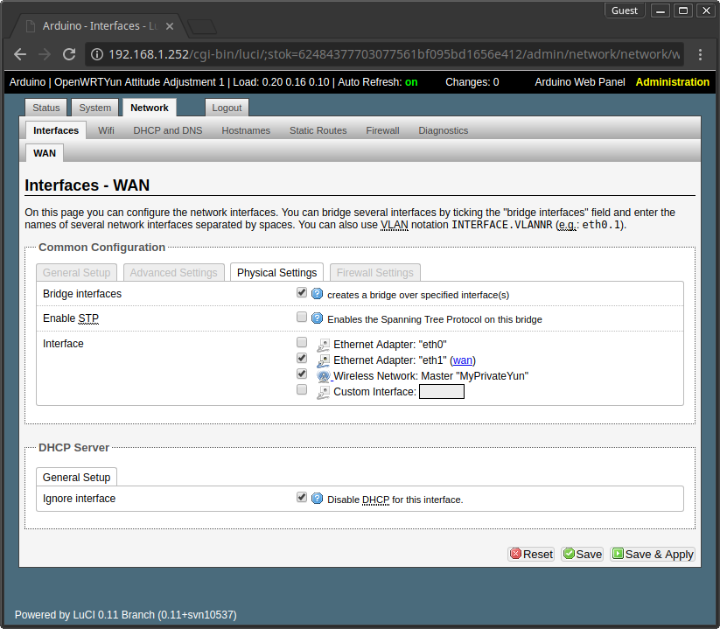
Hitting "Save & Apply", whilst crossing your fingers, should make it all magically work.
Now if you connect a device to your the Yùn's WiFi the IP address it is given should be one handed to it by the DHCP server on your router.
Congratulations. Your Yùn is now a WiFi Access Point for your network.