As part of my work I end up with hundreds of small TFT and OLED displays scattered around doing nothing. One of them, the PG25664CG OLED screen (16 shades of green) I figured would be about the same size and shape as a 5.25" drive bay in a PC.
And guess what? I was right! An absolutely (well, a couple of mm out) perfect match. So I decided I should build one into my computer to display stuff. No idea what stuff yet, but stuff anyway. I'll decide later when I have written the software for it all.
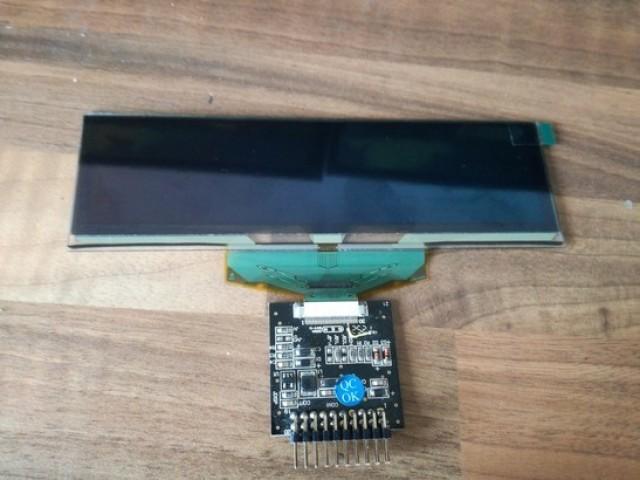
The display I have comes as a bare OLED panel with a small adaptor board:
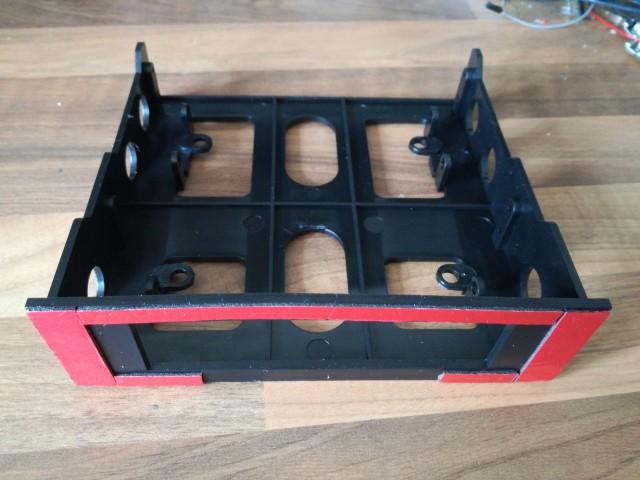
I was wondering what would be a good way of mounting it in the case, then I had the idea of a cheap plastic 3.5" to 5.25" floppy drive adaptor tray off eBay. Stick the display to the front, feed the FPC and board through the hole. So I ordered one (from China of course), and grabbed my trusty number plate tape (12mm and 6mm):
And stuck it round the edge of the front like so:
I left a gap at the bottom for the FPC. Next is to stick the OLED to the front.
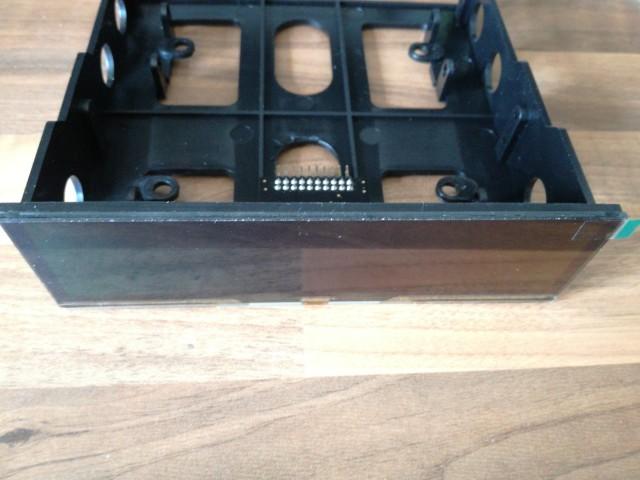
Et voila. And the other side for good measure:
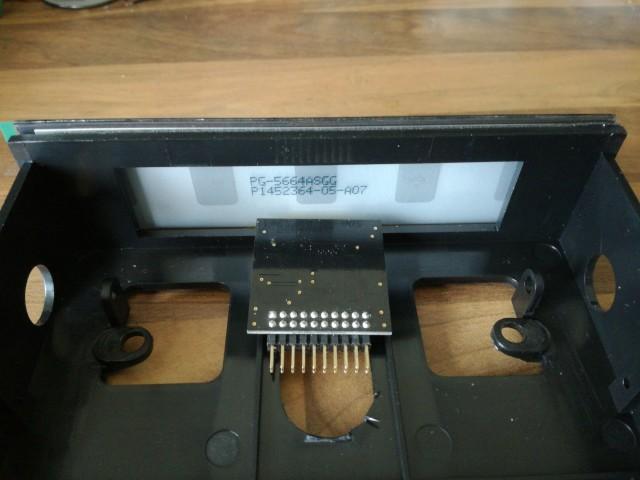
You can see there is a slight lip around it, but fortunately my computer (an ageing Dell Precision T5500) has plenty of leeway in the drive bays, and a fascia that goes over the front, so that's not an issue for me.
Right, let's wire it up and see if it still works after all the abuse I have just given it. I think a chipKIT Lenny will do to power this. I'd like a HID interface to it rather than serial, so the PIC32MX270 on the Lenny is ideal. I'd prefer something with a full PMP interface and a bit more speed, but the Lenny will certainly do the job for now. Maybe in the future I will build a custom board specially for it with the PIC32MX470 instead.
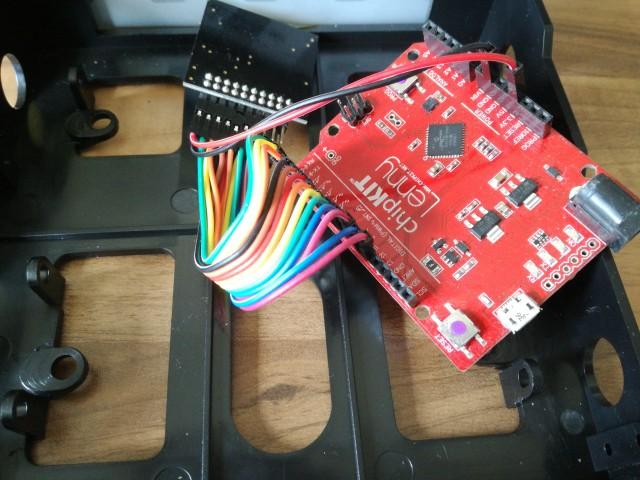
And load a demo sketch (the trusty Cube) using DisplayCore:
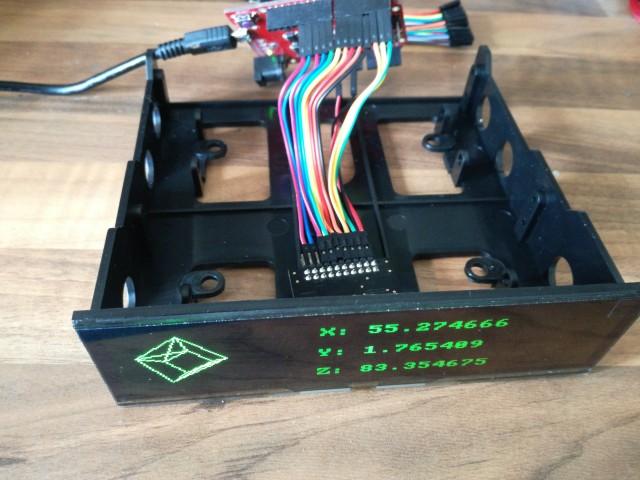
Success! Now to tidy things up a little. The adaptor board is flapping around a bit at the moment and putting undue strain on the fragile FPC, so I think some support for that is needed. Idea: make a plastic shelf it can be strapped to. Ideal component: half a Microchip samples anti-static box. Cut a couple of grooves in it to match the ridges in the drive tray, and tape it down securely. Perfect.
The Lenny straps to the drive tray as well just using a length of 0.6mm single-core wire:
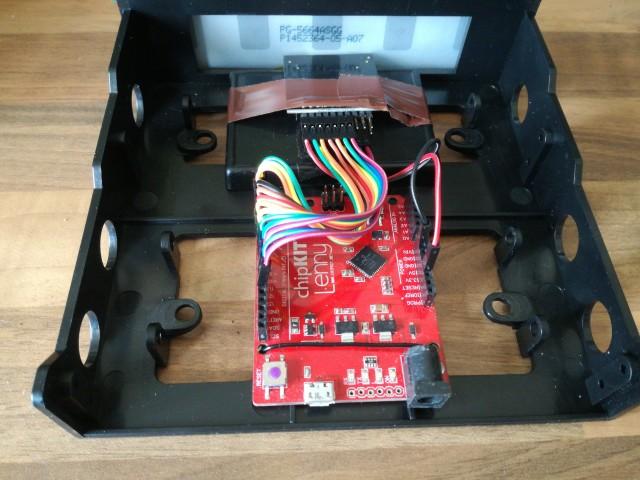
And we're good to go. Time to mount it inside my PC:
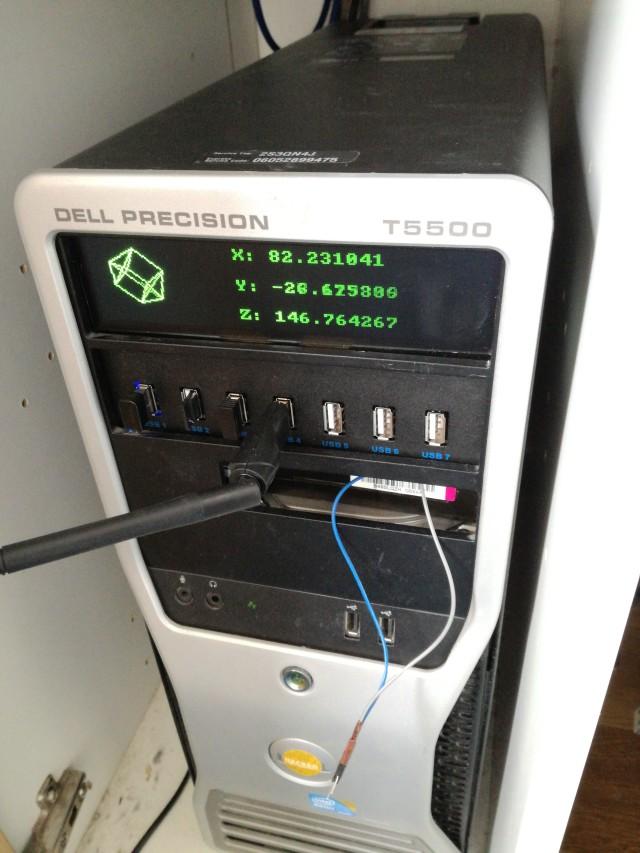
Ah yeah!
One of the good things with this computer is it has a USB socket on the motherboard, so it just plugs directly into there and everything remains inside the case.
The two wires dangling out the front, by the way, are connected to PROG and GND on the Lenny. They let me (for the time being) trigger programming mode so I can upload new firmware to it.
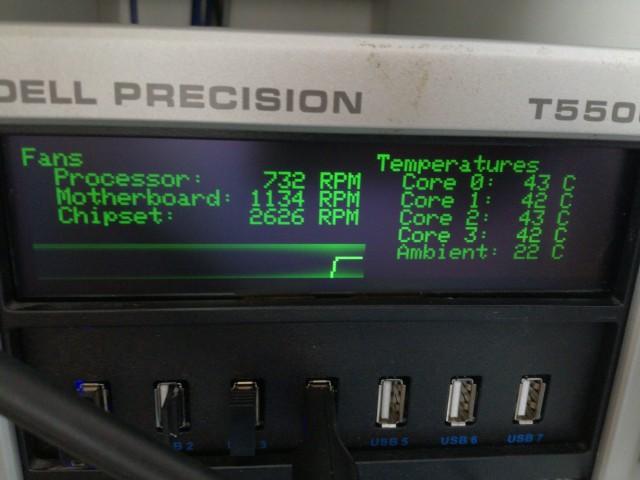
Now to write some firmware for it to get it to show "stuff". Maybe link it to lm-sensors to get temperatures and things...
And here is the finished article:
Example code can be found here: github.com/majenkotech/PCMonitor
- you'll want to edit all the sensor information for your personal
setup, and it's to run with the "Harmony testing" version of the chipKIT
core in UECIDE.